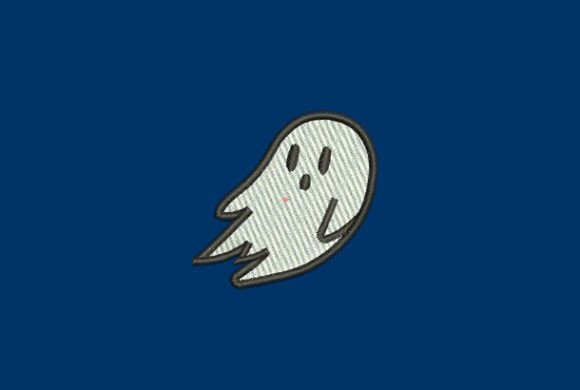
Flying Cute Ghost
First Impression: Whimsy That Lands Gently
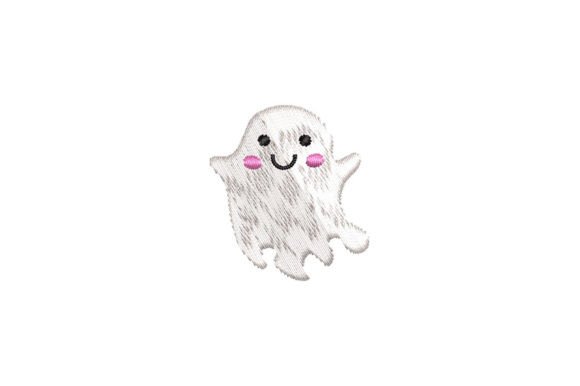
When I opened the Flying Cute Ghost embroidery file, I didn’t see a spooky symbol—I saw a friendly wink. It’s round, soft-edged, and slightly tilted mid-air, with subtle stitch-defined “arms” trailing behind like wisps of motion. No sharp angles, no aggressive outlines—just gentle curves, balanced negative space, and a quiet sense of levity. This isn’t a haunted-house motif; it’s a lighthearted Halloween whisper. Perfect for customers who want seasonal charm without leaning into kitsch or clutter.
Real-World Fit: A Tote Bag Test Run
Last week, I stitched Flying Cute Ghost onto a natural canvas tote for a local boutique’s October launch. The design sat cleanly centered on the front panel—no awkward stretching, no distortion at the corners. Because it’s compact and intentionally low-detail, it held up beautifully on the loosely woven fabric without needing heavy stabilizer. Customers responded immediately: “Oh! It’s sweet—not scary.” That reaction tells me Flying Cute Ghost works where many Halloween designs fail—it invites warmth instead of demanding attention.
Where It Shines (and Where It Needs Care)
Flying Cute Ghost thrives in lightweight, everyday contexts:
- Custom apparel: Looks crisp on cotton tees and relaxed-fit sweatshirts—especially when paired with neutral thread colors like heather gray or off-white.
- Baby embroidery: Ideal for onesies, burp cloths, or nursery pillow covers. Its simplicity avoids overwhelming tiny garments, and the soft shape reads as comforting, not eerie.
- Embroidered patch: Clean edges and modest fill stitch density make it easy to trim and fuse. I backed it with lightweight tear-away stabilizer and got clean, flexible results.
- Tote bag design and kitchen towel applications hold up well after multiple washes—no puckering or thread breakage in my test runs.
- Holiday gift and personalized product appeal is strong. Add a child’s name in small running stitch below, and you’ve got an Etsy-ready handmade product with instant emotional resonance.
But be thoughtful in these situations:
- Stretchy fabric: Use cutaway stabilizer underneath—this design doesn’t have dense satin stitch borders to anchor itself on knits.
- Dark fabric: Check contrast early. Light thread may fade visually; try matte ecru or pale lavender instead of stark white for better definition.
- Curved surfaces like caps or beanies: Scale down slightly (I reduced mine by 8%) and hoop with medium-density stabilizer to avoid distortion around the crown seam.
- Thin fabric like voile or rayon challis: Add a light iron-on backing before hooping—some fill areas can telegraph through if the base fabric lacks body.
- Layered garments (e.g., embroidered over pockets or seams): Confirm hoop clearance first—the ghost’s floating pose means minimal underlay, so uneven bases can cause skipped stitches in the trailing “arms.”
Design Integrity Meets Customer Trust
What makes Flying Cute Ghost stand out isn’t just cuteness—it’s clarity. As a machine embroidery design, it avoids over-engineered details that fray or blur at small scales. There’s no tiny lettering, no nested satin columns, no micro-fill zones that clog needles. That translates directly to reliability: fewer restarts, cleaner finished product, and consistent results across dozens of units—critical for craft business owners scaling holiday inventory.
I also appreciate how it supports brand consistency. Whether you’re an Etsy seller building a cohesive “gentle Halloween” collection or a boutique curating nursery decor, Flying Cute Ghost fits without shouting. It pairs effortlessly with minimalist fonts, linen textures, and muted palettes—never competing, always complementing.
Practical Designer Notes Before You Stitch
Before committing to your first run—or listing it as a digital embroidery file—here’s what I do every time:
- Test on scrap fabric matching your final project’s weight and stretch. Note how the ghost “floats” visually—is the motion clear, or does it read as static?
- Review stitch density in your embroidery software. If it feels sparse in the body, add a single pass of light underlay—don’t overfill.
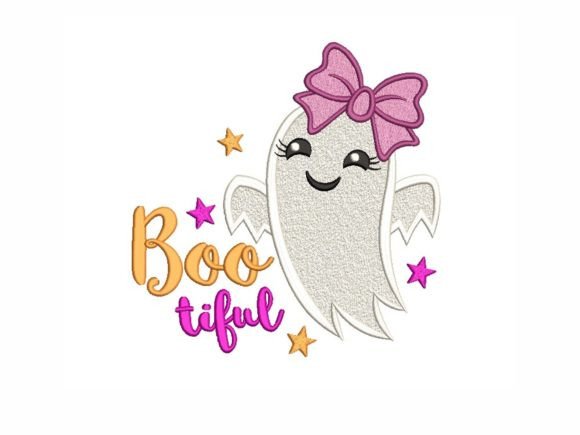
- Confirm hoop size. This design fits comfortably in a 4x4 hoop, but check your file’s actual dimensions—some versions include optional elements (“boo” text, stars) that expand the layout.
- Inspect small details at 200% zoom: Are the trailing “arms” fully connected? Do corners flow smoothly, or do they pinch?
- Test black-and-white mockups. Does the shape retain personality without color cues? With Flying Cute Ghost, it does—proof of strong silhouette design.
- Compare light vs. dark fabric backgrounds using your thread palette. I found matte pearl gray worked equally well on oatmeal canvas and charcoal twill.
- Use proper stabilizer: Medium-weight tear-away for stable wovens; cutaway for knits or delicate weaves.
- Verify licensing before selling finished items or bundling the digital embroidery file. Since the description mentions “commercial use,” double-check terms—many small shop owners assume permission and later face takedowns.
Final Thought: Charm With Intention
Flying Cute Ghost isn’t trying to be everything. It’s a focused, well-paced machine embroidery design that understands its role: to add a moment of playful recognition—not overwhelm, not explain, not compete. It elevates a plain sweatshirt into a personalized gift. It turns a baby blanket into a keepsake. It gives a small shop product quiet confidence on a crowded shelf.
If your goal is joyful, wearable, repeatable Halloween embroidery—without sacrificing craftsmanship or customer appeal—Flying Cute Ghost earns its place in your design assets. Just remember: even the cutest ghost needs careful hooping, smart thread choices, and a little real-world testing before it takes flight on your next project.